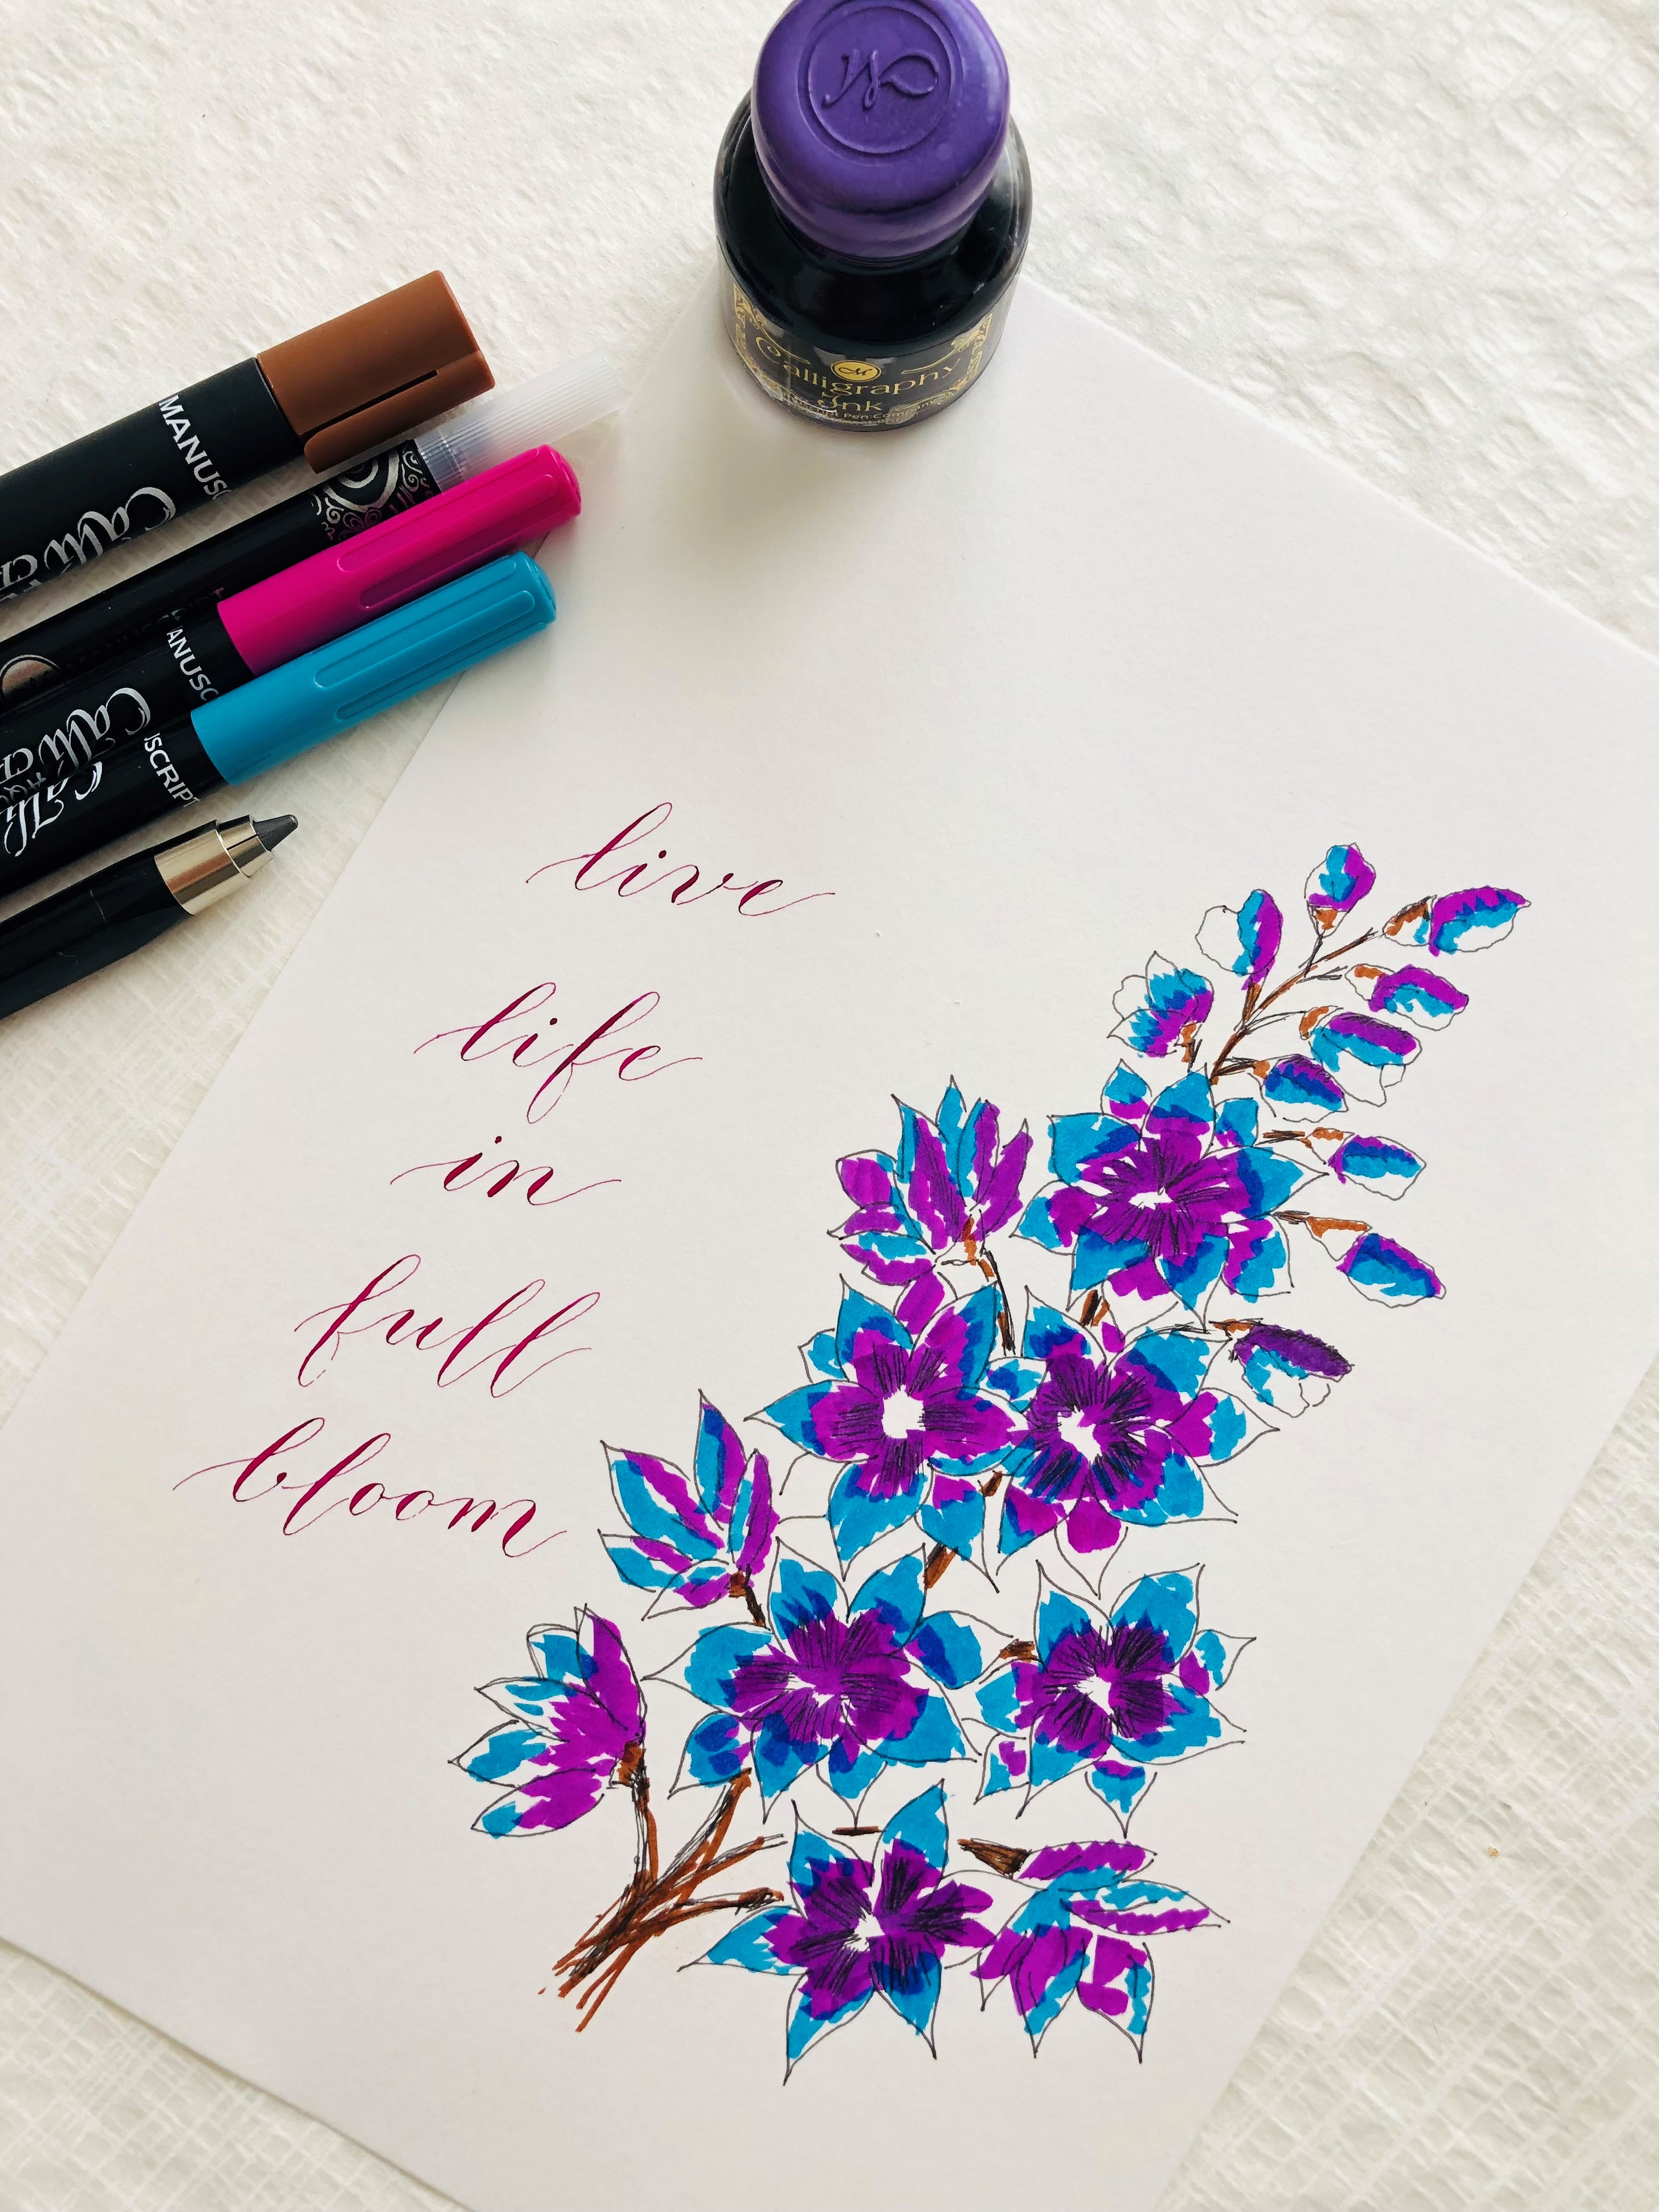
We asked our Artist of the Month Elen Calligraphy to create a new DIY tutorial for you all and she did not disappoint! She has put together this floral project for you that is simple but so effective!
This tutorial is perfect for beginners, doesn't require a lot of product and can be adapted to any celebration, from weddings, baby showers, and birthday parties!
So, what are you waiting for? Get your pens ready and lets go!
What is your background and when did your passion for Calligraphy and Lettering begin?
The Tools you need to get started:
- Manuscript Modern Calligraphy Set
- Aquabrush Markers
- Duotip Markers
- Calligraphy Pencil (or a standard pencil will do!)
- Ink colour of your choice
- Card
- Ruler (optional)
Step 1
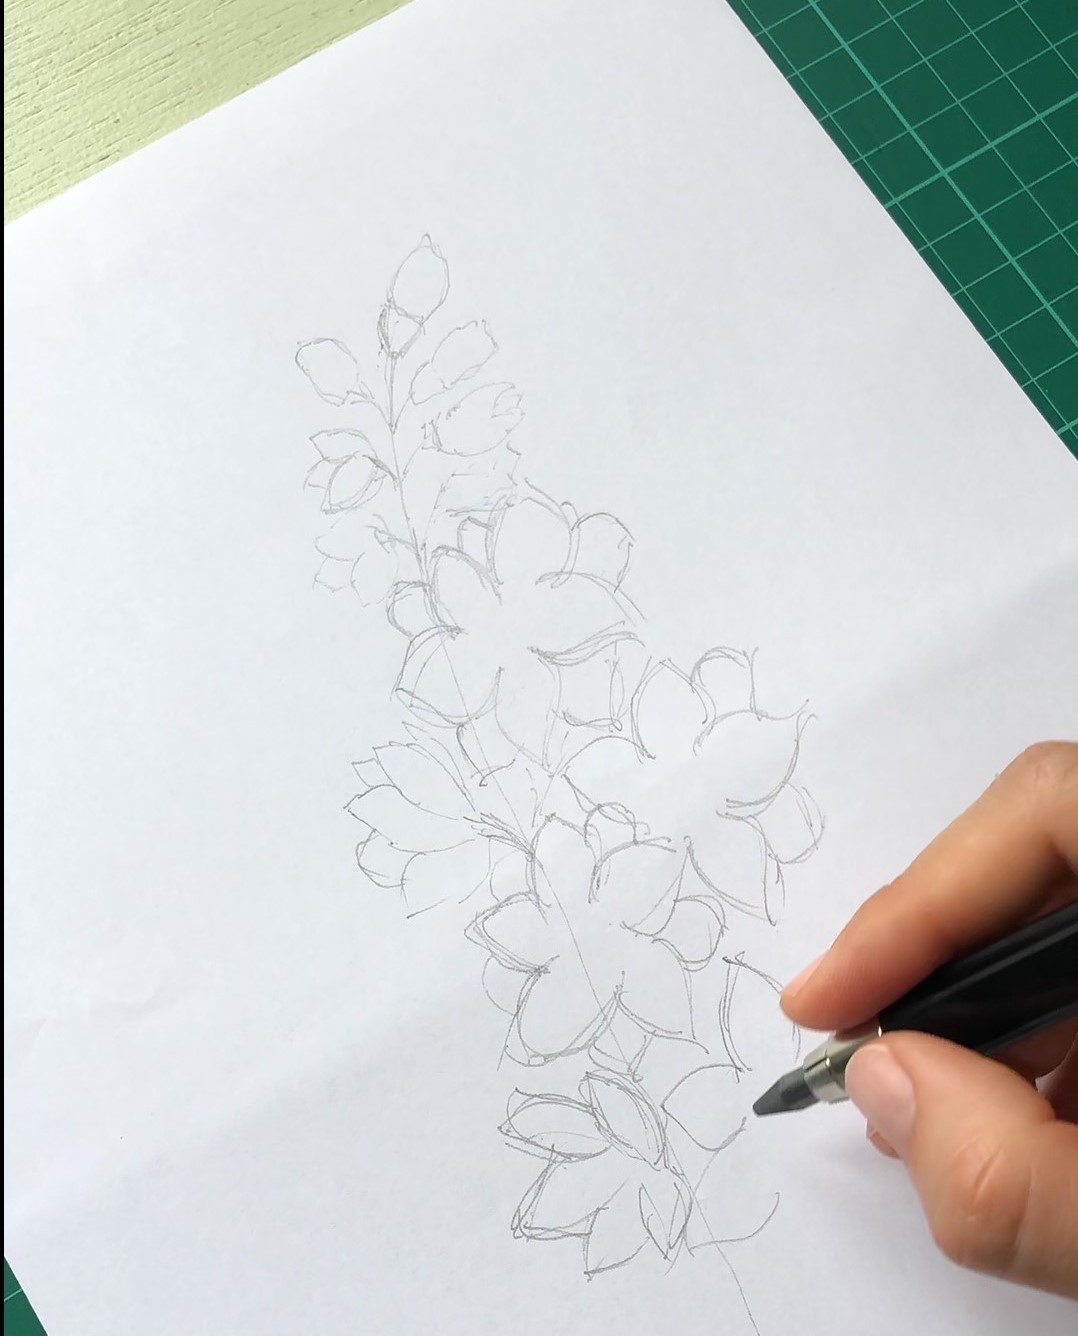
Using a pencil and a rough piece of paper, sketch out your floral design. We have used a floral design here but you can adapty this to any theme or pattern needed.
We recommend sketching your design first so you can get an idea of space and make sure your design fits on your paper. We have sketched our floral design on one side to leave speace for our calligraphy on the other side.
Step 2
Once you are happy with your sketch, take a Duotip Marker and using the fine tip, outline your flowers. We used a black Duotip Marker but you can use any colour you want.
We are still working on a sketch design here to make sure we are happy with it before we move onto our final piece!
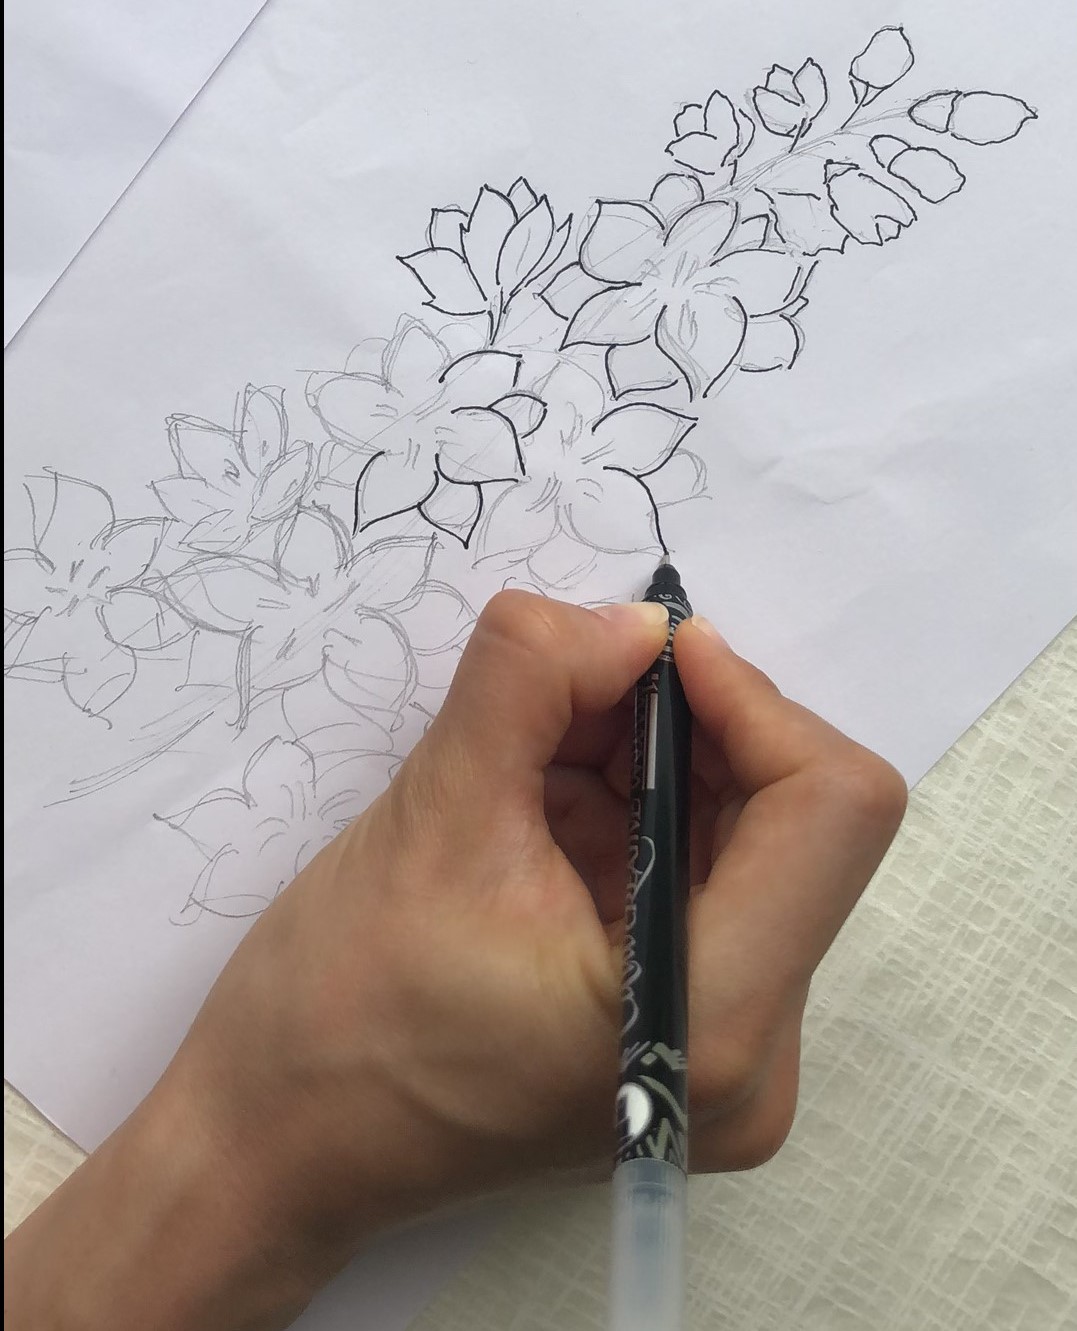
Step 3
When you are happy with your design transfer it to your card. You can either trace over your original test sketch or re-sketch your design onto your piece of card.
By re-sketching your design you can make some tweaks and improve things you didn't quite like the first time round!
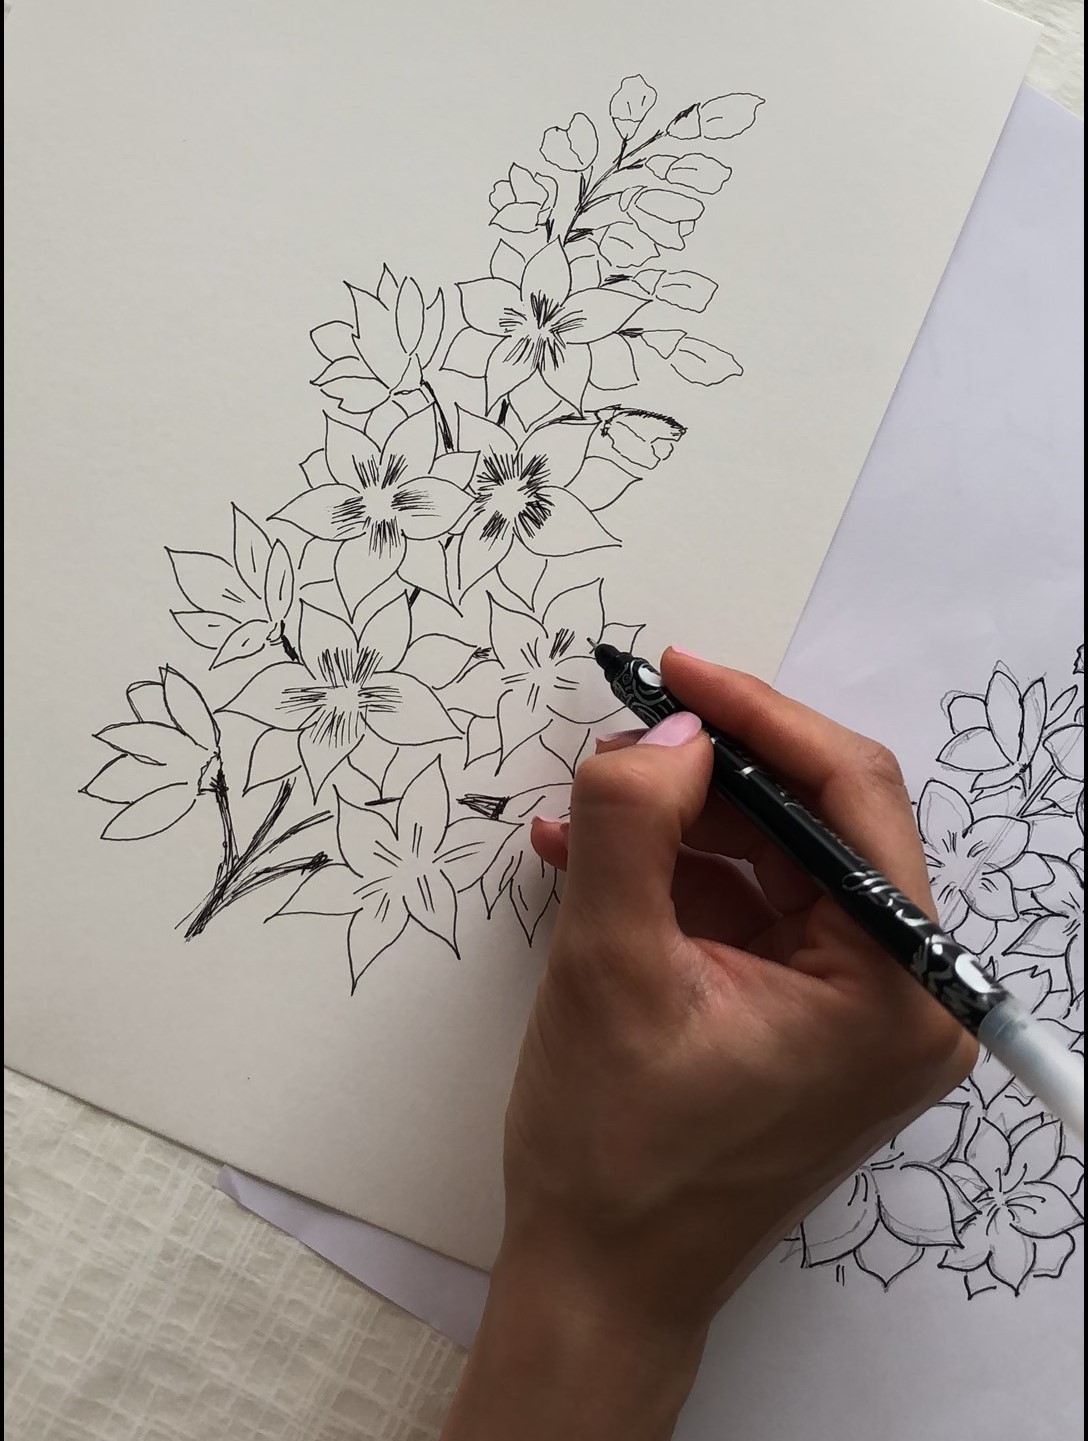
Step 4
Using your Aquabrush Marker start to fill in your design with some colour.
We have decided to only fill in parts of the design to try and ensure we have enough white space. In the next step we will add more colours so its important you start with less as you can always add more after!
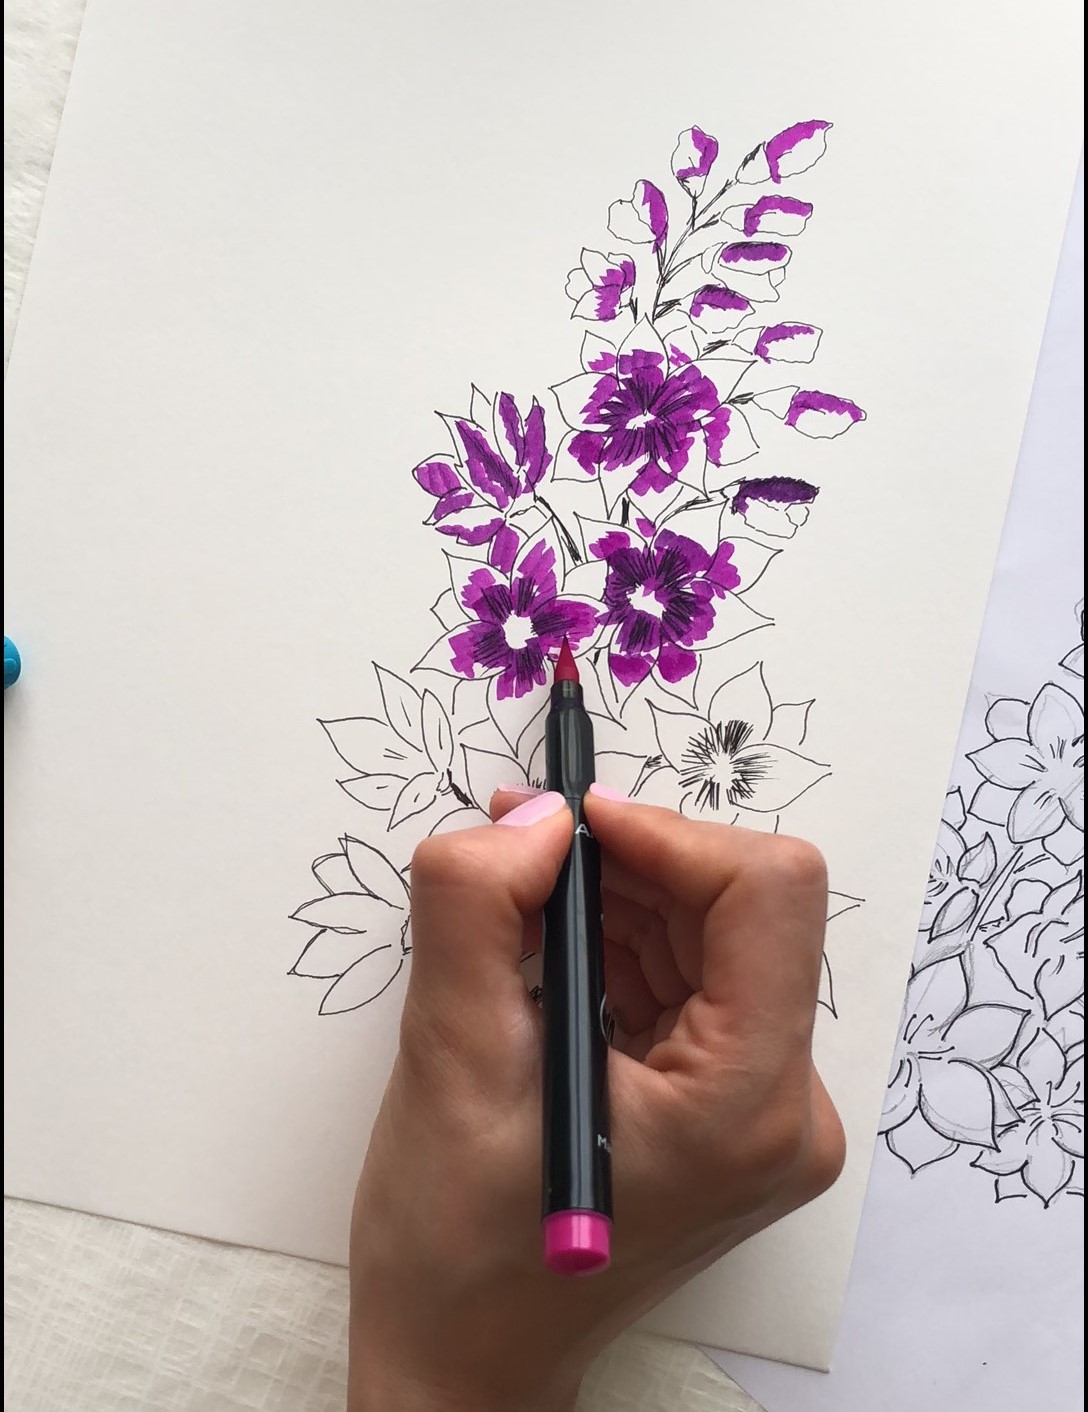
Step 5
Using another colour, fill in the rest of the design. Remember to keep it "rough" and "messy" as this will help give your design a unique look.
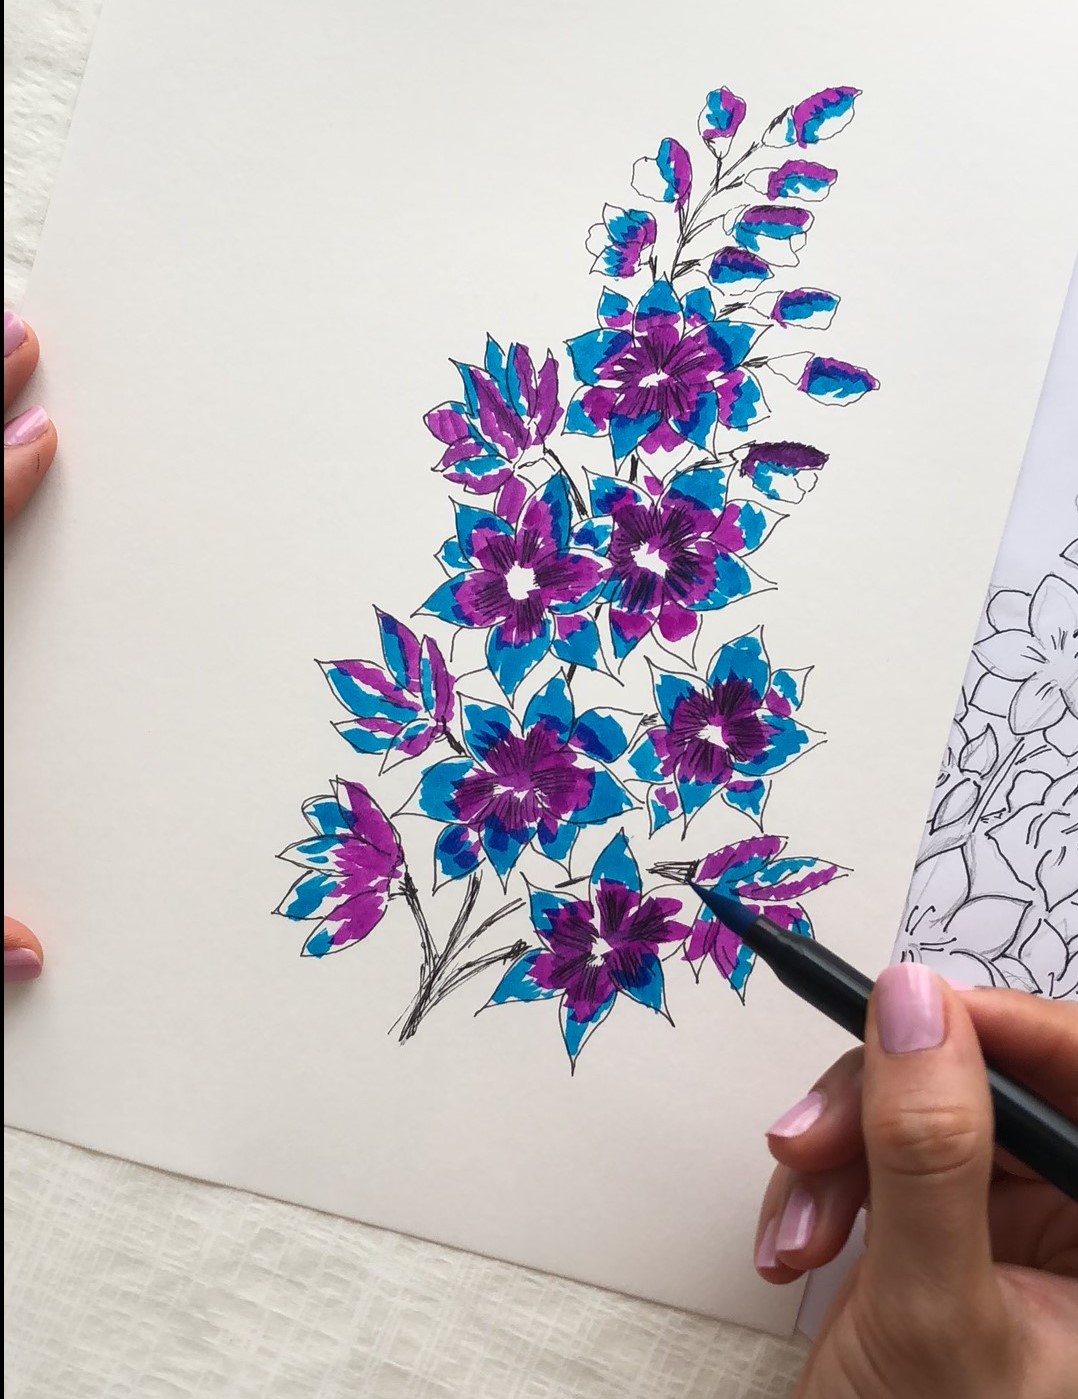
Step 6
Now your floral design is complete, you can add your calligraphy!
We have gone for a Modern Calligraphy Style but you can add any style to your design. Using our favourite Principal Nib, write your design. You can use a ruler to create some calligraphy guidelines, however if you don't need these you can omit this step.
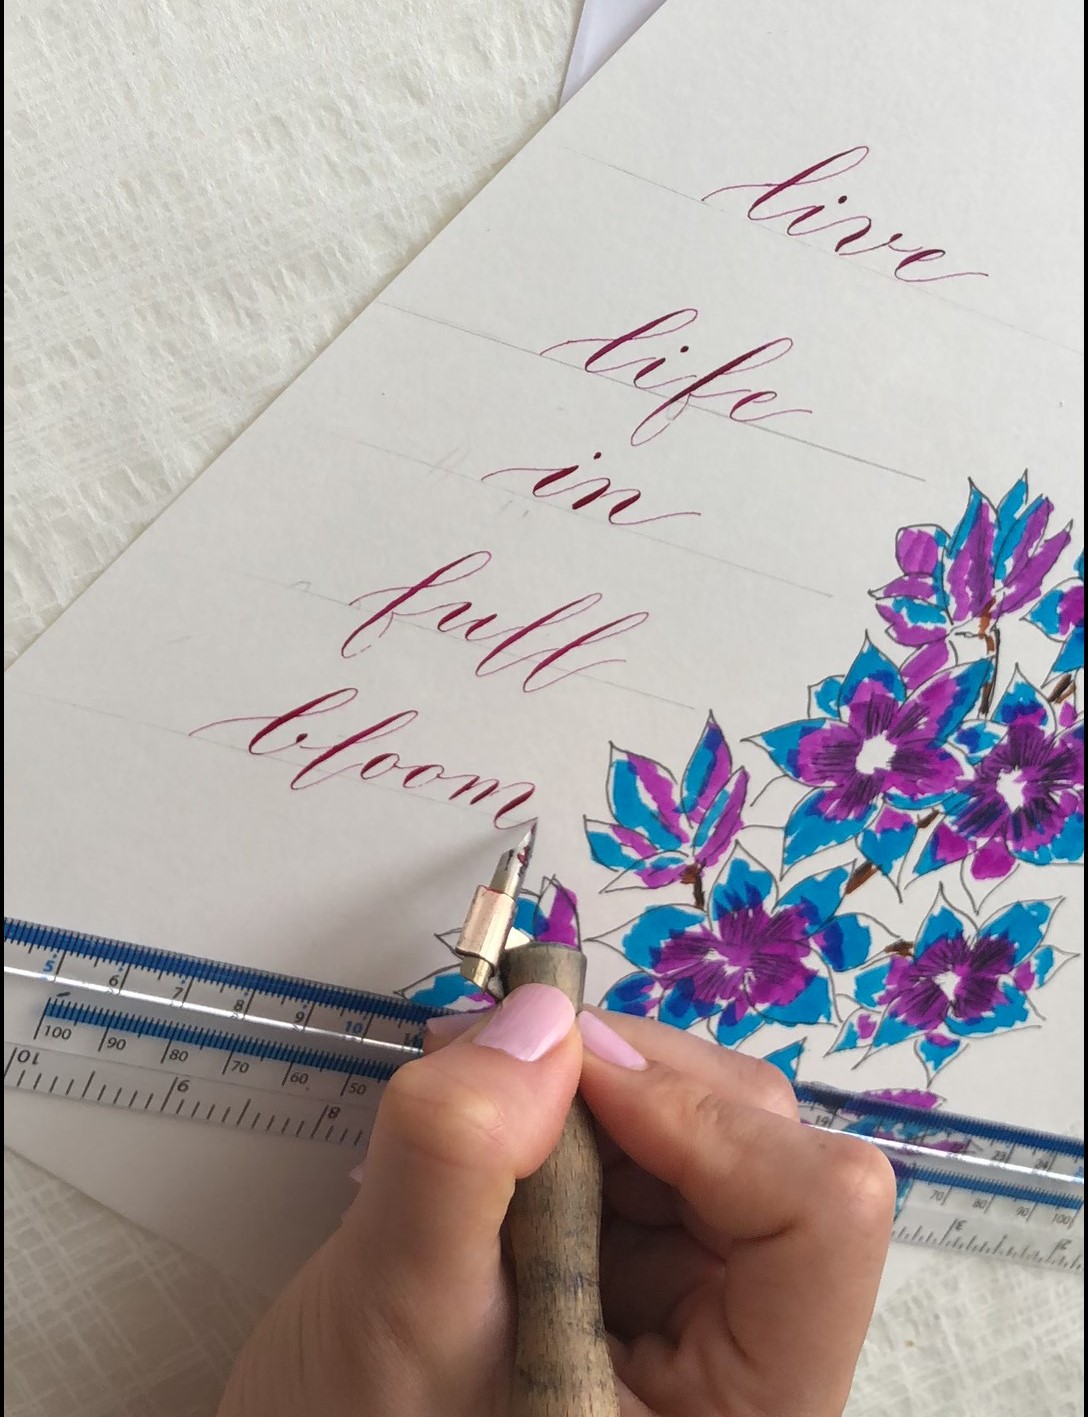
And there you have it, your completed piece. We have used a modern calligraphy script for our design but you can use any style whether its copperplate, italic, textura, brush or even hand lettering! Get creative and see what you come up with!
To see more of Fatme's work you can follow her on Instagram or learn more about her and view her work or visit her website: www.elencalligraphy.com. Remember to follow @manuscriptpenco on Social Media where we will be showcasing her work throughout the month.


